Get started: A Guide to use all Features of Psd Mockups
In this article we are going to describe all the possibilities of our psd mockup to create stunning and unique images. It doesn’t matter if you create images for portfolio, presentation, websites, ads or even for print purposes. This guide will lead you through the steps. It’s not only a „how to change things“ article. It also contains tips and workflows to achieve the best results with photoshop.
If you already know some of the following topics keep scrolling. But we recommend to check all of them
- Replace Design Smart Object
- Background & Color
- Specularity
- Moveable Objects (Shadow)
- Layer Styles (Download Link below)
Replace Design via Smart Object

This is explained tousand times but here again: Double Click on the Smart Object layer and copy or paste your design in to the artboard. If necessary scale your design until it fits to the edges. Now save and your done.
Tip: If you are updating your smart objects often you can split the windows in photoshop for a faster workflow.
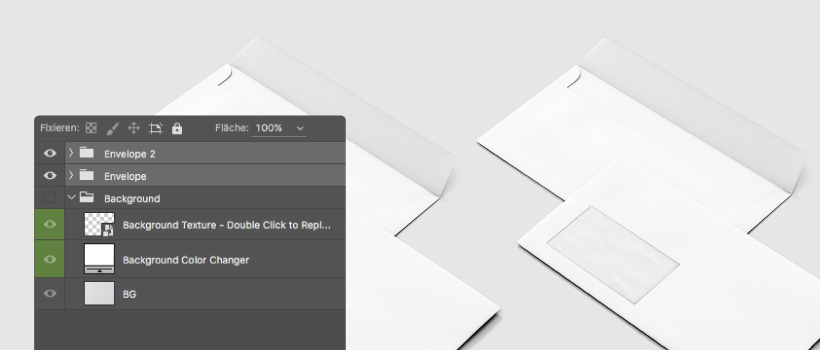
Change Background Texture & Color
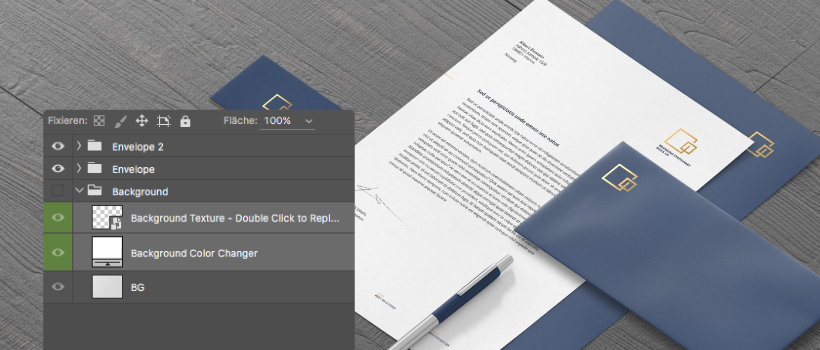
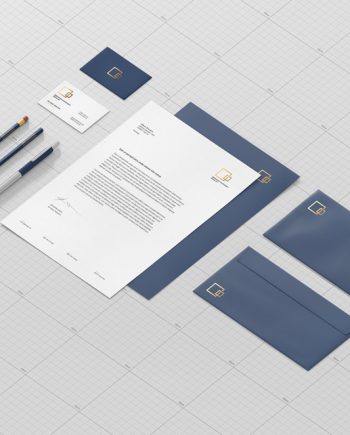
Image: Stationary / Branding Mock-Up
Here you have the options to adjust the color via fill layer: Double click on it and choose the color that fits best to your scene. Press „OK“ and you are done.
Adding a Floor/Background Texture works exactly like replacing your design via Smart Object: Double Click, Add Texture and save.
Tip: With the Fill Layer (to change the background color) you can also colorize your background texture. For example giving it a cold or warm look.
Specularity
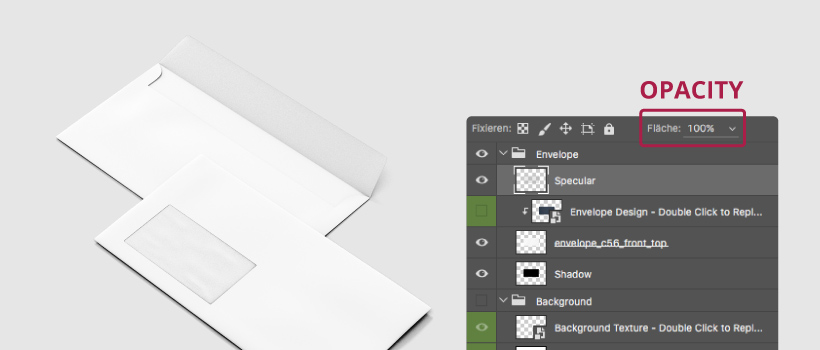
The Specular layer gives the realistic touch to the objects. It prevents that your design looks flat. Usually this is set to a good default but if you need more or less shine on the object you can adjust the opacity of the specularity layer to fit your need.
Moveable Objects (Shadow)
Almost all the mock-ups we produce have separated shadows from the object. This gives you the full control to move the objects around and also put on any background. This gives a lot of possibilities to create unique images like putting more objects next to each other or exporting them with a transparent background.
Layer Styles (Free Download Link below)
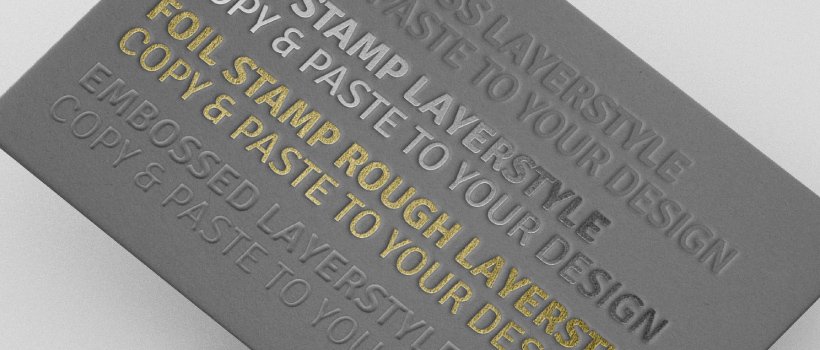
Creating a foil, embossed or letterpress effect is very simple with these layerstyles. Our layer styles are included in the smart object. All you have to do is to copy (right-click / copy layer style) and paste (right-click / paste layer style) on your design.
Recommendation: We recommend to copy and paste with right-click instead of holding ALT and draging the layerstyle to another layer.
We would be glad if you send us your designs created with our mock-ups. For any questions you have use the comments section below.